How to pack a picnic lunch that stays crisp
· Editorial team orlandonewsdaily24.com
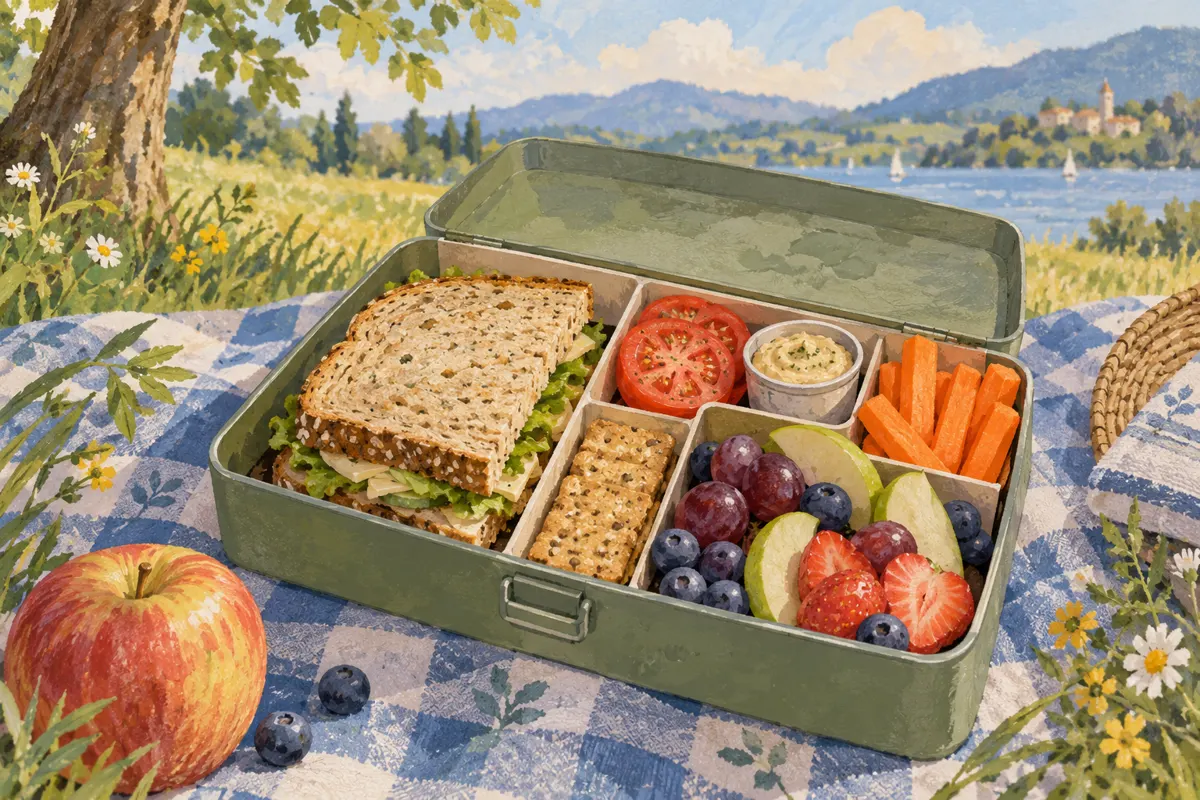
To keep a picnic lunch crisp, use sturdy bread, pack juicy fillings and sauces separately, and let cooked sandwiches cool before wrapping them. Give crackers and other crunchy sides their own dry containers. For a family afternoon at the park, adding tomatoes and condiments just before eating is a straightforward way to prevent soggy sandwiches.
Choose bread that can hold the filling
Start with sourdough, rye, ciabatta or a baguette. These breads generally hold up better around sandwich fillings than soft white sandwich bread. Choose a shape your family can comfortably bite into: a sturdy sliced loaf may be easier for younger children than a thick, crusty roll.
Lightly toasted sourdough or rye is another option. If you toast the bread, let it cool before assembling and packing. The same principle applies to grilled sandwiches: sealing them while warm traps steam, which softens the surface. Toasting helps with texture, but it does not make bread immune to wet fillings.
Keep wet ingredients separate until lunch
Tomato slices, juicy peppers and wet sandwich fillings can transfer moisture into bread while lunch sits packed. Pat washed greens and other fillings dry before using them. Drain vegetables packed in liquid, then blot away surface moisture. Keep especially juicy ingredients in a separate container and add them at the picnic.
- Ready to layer: sliced cheese, cold cuts and thoroughly dried greens.
- Better added at lunch: sliced tomatoes, juicy vegetables and pickles with liquid still clinging to them.
- Pack separately: mustard, ketchup, hot sauce and vinegar-based dressings.
- For chicken or egg salad: carry the filling separately and spoon it onto bread when you are ready to eat.
A thin layer of butter, mayonnaise or another oil-based spread can help slow moisture reaching the bread. Use it as an extra measure alongside dry fillings and separate sauces. If family members prefer different condiments, individual small containers also make lunch easier to customize.
Wrap sandwiches and protect crunchy sides
For assembled cold sandwiches, parchment paper is a useful wrapping choice. Put the wrapped sandwiches in a lunch container to protect them from being squashed beneath drinks or heavier food. Wrapping cannot compensate for a tomato pressed against the bread, so handle moisture first.
Keep grilled cheese in its own compartment after it has cooled. Pack juicy fruit, vegetables and dips separately so their moisture cannot reach the sandwich. Carry perishable sandwiches with a cold pack; crisp texture alone does not tell you whether lunch has been kept appropriately chilled.
A practical packing proposal is to give crackers or breadsticks a small, dry, rigid container, with dips in sealed pots beside it. Pack fruit in another container. This arrangement lets the family share sides without placing damp foods directly against the crunchy ones.
Use a simple sandwich-and-sides template
Suggested picnic template: pack a cheese sandwich on sourdough with dried greens and a thin butter spread. Carry tomato slices and mustard separately. Add carrot sticks, crackers and a separate fruit portion. The idea is to give each person a main, a crunchy vegetable, a dry snack and fruit without mixing their moisture.
For a proposed variation, add cold cuts to the sandwich or use cooled, blotted roasted vegetables. Keep the same packing arrangement. If you prepare lunch the night before, set aside the bread and wet components for later assembly; adding juicy ingredients at lunchtime reduces the time they spend touching the bread.
Run through the assembly checklist
- Choose sturdy bread and let any toasted bread or grilled sandwiches cool before packing.
- Dry greens and blot drained vegetables.
- Apply a thin oil-based spread if desired, then add the drier fillings.
- Put tomatoes, wet fillings and watery condiments in separate sealed containers.
- Wrap sandwiches and place them where heavier items will not crush them.
- Pack crackers, fruit and dips separately, and include a cold pack for perishable sandwiches.
- Bring napkins and any utensils needed to add the remaining fillings at lunch.
At the picnic, open the sandwich, add the juicy ingredients and sauce, and eat after assembling. Keeping those final additions simple makes the method manageable even when the family is eager to get back to playing.