How to organize children's artwork when storage space is limited
· Editorial team orlandonewsdaily24.com
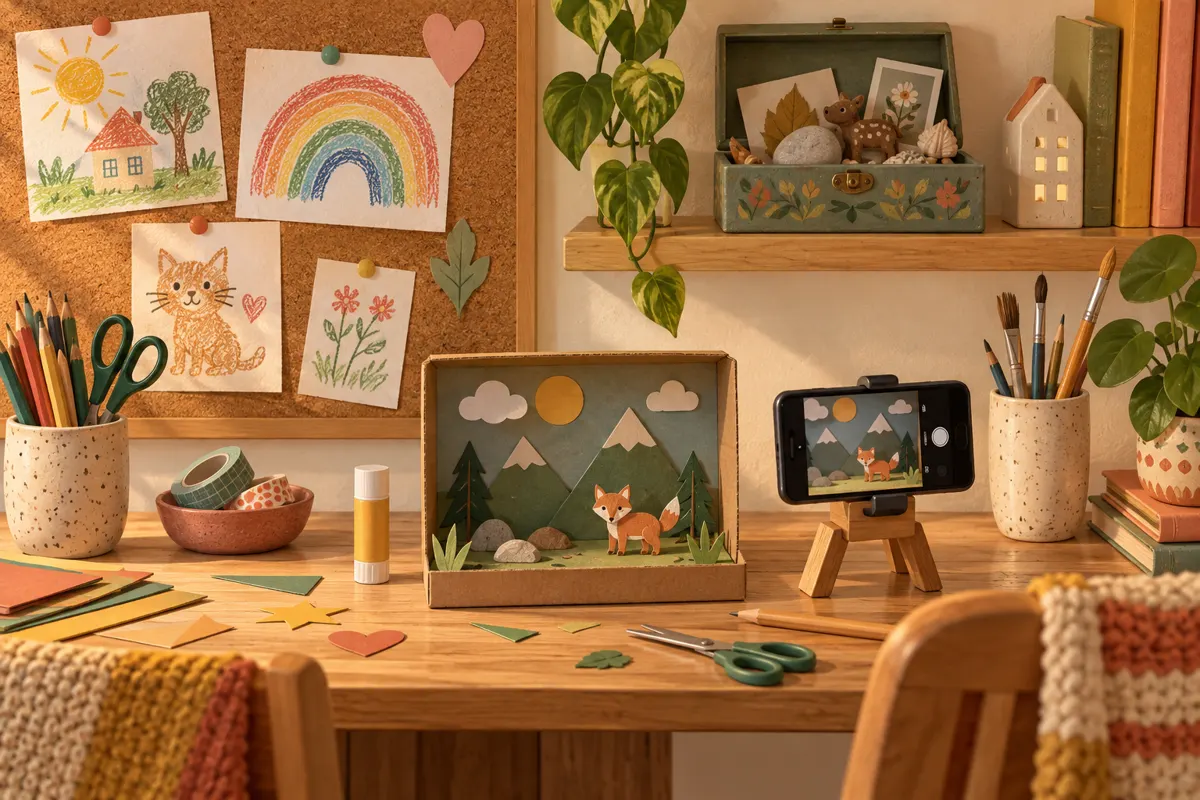
Give children's artwork three places to go: a small rotating display, a digital collection and one container for selected originals. The proposed routine below lets families celebrate new creations without keeping every sheet of paper or bulky project. Start with the space you can spare, then involve your child in deciding what belongs there.
Set a storage limit before sorting
Choose one shelf, drawer or section of a closet for saved artwork. Use a container that fits that space and accommodates the paper your child commonly brings home. A shallow box makes individual pieces easier to find; a portfolio can suit mostly flat drawings. Avoid buying several containers before you know what you want to keep.
Blue i Style describes using shallow, labeled, stackable scrapbook cases to separate children's artwork by child and stage. You can adapt that idea using a suitable container you already own. Label it with your child's name and a broad period, such as “kindergarten,” so finding a drawing does not require opening every box.
- Gather loose artwork from bags, counters and drawers.
- Separate flat pieces from models and other bulky projects.
- Set aside wet paint or glue until it dries before stacking.
- Choose a small temporary folder for new arrivals awaiting a decision.
Create a display that changes
Make one defined display area: a few refrigerator magnets, a corkboard or a picture ledge. Use what fits your home, and decide how many pieces it can comfortably hold. A limited display gives each drawing room to be seen and provides a clear cue to rotate artwork when new favorites arrive.
- Invite your child to choose the first pieces to display.
- When the display is full, ask which piece should make room for a new one.
- Move the outgoing piece to the temporary folder.
- At the next sorting session, decide whether to save the original, photograph it or let it go.
Keep the display separate from permanent storage. Being taken down does not have to mean being discarded immediately. The temporary folder gives children time to decide, while keeping the kitchen table clear.
Help children choose meaningful keepsakes
Sort together in short sessions rather than presenting a whole year's pile at once. Ask what your child likes about each piece or remembers about making it. Their favorite may be a quick sketch with a story behind it, rather than the most polished painting.
- Which piece would you most like to see again?
- Does this remind you of something special?
- Would a photograph help you remember it?
- If we keep this original, which other piece could leave the box?
Explain the physical limit plainly: “This is the space we have for originals.” Avoid turning the choice into a judgment about whether the art is good. If a child is unsure, return the piece to the temporary folder and revisit it later. For younger children, offer a choice between a few pieces at a time.
Photograph oversized and bulky projects
Before dismantling a cardboard model or putting away a large painting, record both its appearance and its story. A digital copy is especially useful when an original will not fit your chosen container.
- Place the artwork against a plain background in even light.
- Photograph a flat piece straight on, with all its edges visible.
- Take several angles of a three-dimensional project and a close-up of any favorite detail.
- Check that the images are clear before letting the original go.
- Save them in a folder named for the child and year, with a short caption explaining the project.
Include your child's words in the caption when possible. Keep a backup of the digital collection, and check that you can open the files. A dedicated artwork app is optional; ordinary photo folders can support this routine.
Keep the routine small and repeatable
Choose a regular moment to empty the temporary folder, such as the end of each month or school term. Rotate the display, photograph selected projects and file the originals you both want to keep. Add a name, approximate date and brief context to the back of saved paper pieces.
When the keepsake container fills, review its contents before adding another box. Keep the pieces that still matter, retain digital copies of others and release the rest together. Let the storage limit remain steady while the collection changes as your child grows.